
I’m sure you’ve all read the usual ways everyone saves money at the grocery store…cutting coupons, using phone apps, buying generic. I’ve even kept a price book in the past to compare prices, but the store prices change so often, I just couldn’t keep up with it all! I’ve honestly gotten really tired of reading the same thing over and over when I try to find new ways to save money.
I also do not have the time to be cutting coupons, checking 17 different phone apps, and driving all over the country trying to get a cheap pack of toilet paper. I like my free time. A lot. And I’m not going to keep a binder with 5,000 coupons in it. It’s a miracle I even remember to use a coupon before it expires.

I felt compelled to share my sane, time-saving secrets with you to save money at the grocery store…
Check the sales ads of the stores you frequent
Okay, I do check the sales ads of the stores I go to on a weekly basis. I do most of my grocery shopping at Aldi, so I always check to see what they have on sale that week, and meal plan accordingly.
I also check my local Ingles ad (a Southeastern grocery chain), to see what deals they have on meat. My local Aldi doesn’t always have the best meat, and I can usually get a good price at my local Ingles.
I subscribe to the sales ads so that I get them emailed to me every week. We don’t subscribe to our local newspaper, so it’s easier to just open up your email to see what’s on sale that week.
Buy in bulk
If you get a good deal on something, buy enough for at least the whole month! I have a budgeted amount of money for each month, so I usually only buy enough to get me through the month.
What freezes well? Here are all of the things I buy in bulk to freeze:
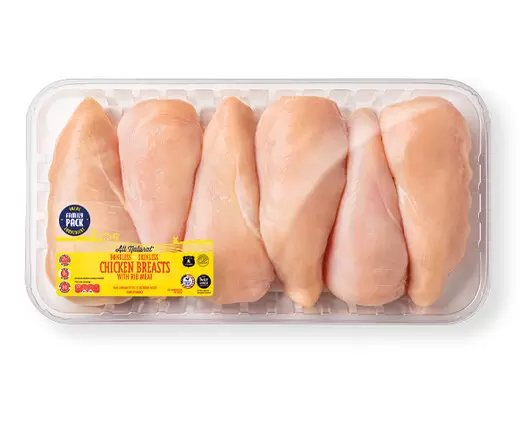
- Meat
- If it’s a large pack of meat, I separate it into meal-sized portions and wrap it in freezer paper before putting it into the freezer.
- Bread
- Fresh Fruit
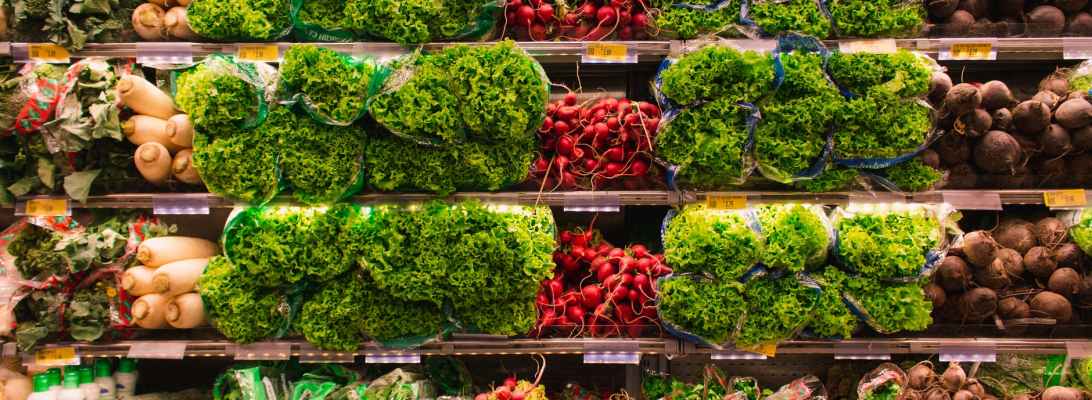
- Vegetables
- Yogurt
- Butter
- Nuts
- Flours
- Dried Fruits
- Some pre-made cookies, crackers, and baking mixes if they’re near or past their expiration date (the oils begin to turn rancid)
Buy at discount grocery stores
Most everyone has access to a discount grocery store in their area. I only frequent ours once or twice a month, and stock up for the month. If I go more than that, I tend to buy more than I need. It also causes me to go a bit over my monthly grocery budget.
This is where I get most of my gluten free and organic items. They are just not in our budget if I buy them at regular grocery stores (other than a few items at Aldi). If I can’t get what I need for the month (this rarely happens, though), I try to make some of it from scratch if I have time. If not, I just meal plan accordingly.
Check the expiration dates, and don’t be afraid to ask for a discount!

This is the main way that I save money at the grocery stores! Most of the stores I frequent don’t do a very good job at rotating their stock (although my local Aldi got really good at it over time because they got tired of me finding their expired items and getting discounts).
In the state of North Carolina, stores cannot legally sell most items past their expiration date. This can work in your favor, if you find products before the expiration date. Unfortunately I do find expired items from time to time, and the stores will not sell them to me. They have to throw them away. Which is awful. I mean, most food is usually fine for a few days after the expiration date if stored correctly!
Each store has different rules when it comes to discounts. Some will mark the product down for you up to two days before the expiration date. You will almost always get a discount if it expires the day before. Your best bet is to go to the store on the day the items expire. I have checked the dates on items, then returned to the store on the day of their expiration to get a deep discount.
Get to know the managers of each department. They are the ones who have the ability to give you a discount on certain items. For breads, I go speak with the bakery manager. Meats, the meat department manager. At Aldi, you can usually just ask a cashier, but it also helps to know the manager of the store.
For a few months, my local Ingles had whole organic chickens that were expiring the day I came to stock up on meat. I found the manager of the meat department, and offered to buy all of the chickens that were expiring that day if they gave me a good discount. I got them all for $1 a pound! I ended up with at least 20 whole organic chickens over the course of two months using this method.
I have also gotten deep discounts on sandwich meats at my local Walmart. They had a large stock of pre-sliced boneless hams and turkeys that were about to expire, so I found the meat department manager and pointed that out to him. I got all of them for $1.00 each (these meats are usually $4.50+ per pound).
I have also had luck buying bread, cheese, vegetables, and fruits with this method. If it has an expiration date, check it!
So there you have it! I’m sure there’s some unique ideas that I’ve left out or haven’t thought of. Feel free to leave your unique ideas in the comments!